Boat canvas repair: tears, seams, snaps and zippers
Boat canvas repair you can do yourself: sewn vs adhesive patches, re-stitching seams, new snaps and zipper sliders, and when a marine canvas shop is the answer.
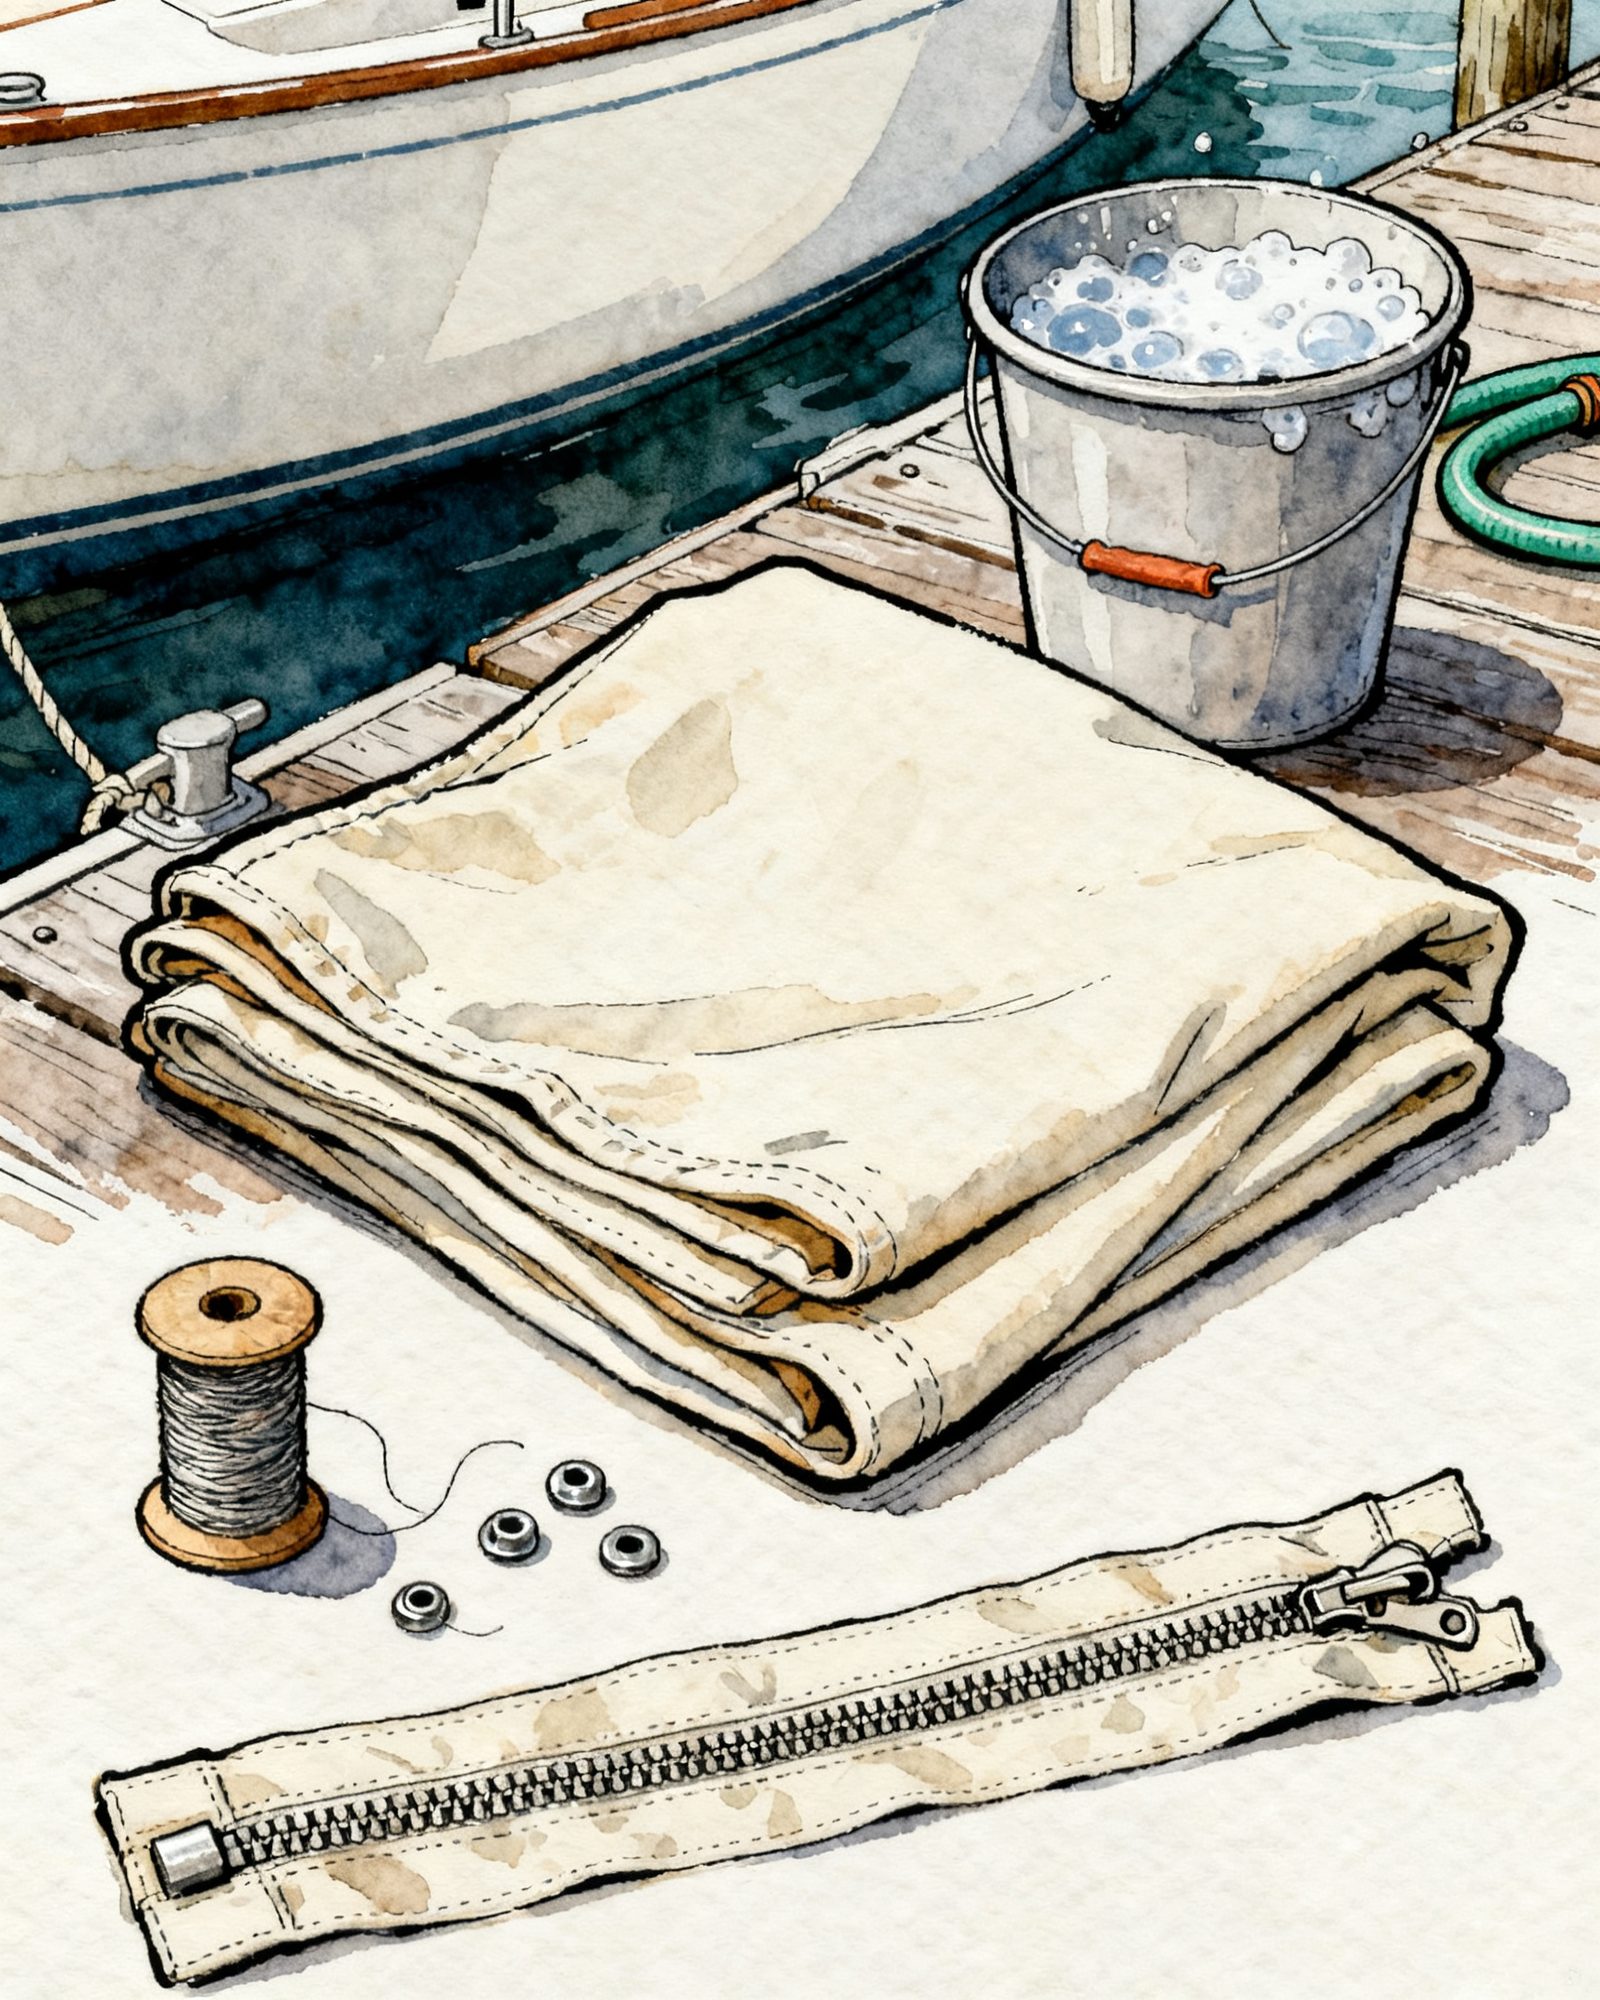
Most boat canvas repair comes down to four jobs: patching a tear, restitching a seam that has opened, replacing a snap that has pulled out or broken, and fixing a zipper that will not close. A sewn patch is the strongest fix for a tear; repair tape and adhesive suit small damage in places that carry little load. Seams often open because the thread has worn out, not the cloth, and a zipper that splits behind the slider often needs only a new slider. Before any of it, check that the fabric around the damage is still strong, because no repair holds on cloth that has worn out. Long tears at strap points, curved zippers, clear windows and brittle canvas are jobs for a marine canvas shop.
Before you repair: find the cause and test the cloth
A tear rarely appears at random. Look at where it is and what touches that spot:
- Chafe points. A windshield corner, a bow rail, a cleat or a motor edge that rubs the cover from inside. The BoatUS Foundation’s winter cover study, as summarized by Waterway Guide on BoatTest, found that “sharp/wear points became evident as the covers settled”, even where they had been padded at first. If the cause is still there, pad it before you patch, or the patch wears through next.
- Pooled water. A cover that sags into a pond puts its weight on seams and straps. In the same study, support poles broke under the load of pooling water. A tear near a low spot often means the support needs fixing first; see support poles that keep water from pooling.
- Wind. Fabric that flaps tears at its fastenings and hems. Loose straps or missing snaps nearby are part of the repair.
- Towing. Practical Sailor advises removing dodgers and biminis before a long trip on the trailer “to prevent damage and chafe”. A cover that tears on the road may be the wrong cover for towing; how to tie down a boat cover covers which ones travel.
Then look at the cloth around the damage. Compare it with a part of the cover the sun rarely reaches, such as the inside of a hem. If the exposed fabric has gone thin, stiff or papery, or tears under light hand pressure, the fabric itself has reached the end of its life, and a patch will just move the failure to the next weak spot. That is the point to price new canvas rather than repairs.
Clean and dry the area first
Glue does not hold on dirt, salt or mildew, and stitching through grime traps it in the repair. Clean the damaged area, and ideally the whole panel, following the cover’s care label; the step-by-step method is in cleaning boat covers. Makers’ instructions differ, so the label for that fabric decides what cleaner may be used. Whatever cleaner is used, the CDC warns: “DO NOT mix bleach and ammonia because it can create toxic vapors.”
Rinse until no cleaner residue is left, then let the fabric air dry completely before applying any adhesive or tape. One solution-dyed acrylic maker also warns that bleach use and the fabric’s age may deteriorate the sewing thread, which matters later when deciding how much of a cover to restitch.
Repairing a tear: sewn patch, adhesive or tape
Practical Sailor’s tests of repairs on acrylic boat canvas give a clear order: “A sewn repair is the gold standard.” Adhesive repairs suit places where sewing is hard or impractical. Tapes “will be an acceptable solution for small repairs that have little or no strain”, but “the patch must be secured with stitching after placement if sustained stress is involved”, and in the magazine’s own trials none of the tapes held a sustained load without creeping, “particularly in summer temperatures.”
| Method | Strength | Best for | Limits |
|---|---|---|---|
| Sewn patch | Strongest (“the gold standard”) | Tears in panels that are pulled tight or take wind | Needs needle and palm or a machine; long tears at straps, corners or frame pockets are canvas shop work |
| Adhesive (caulk-type) | Depends on a full cure | Spots that are awkward or impractical to sew | Must be worked deep into the fibers; strength suffers if the cure is rushed |
| Repair tape | Low-strain use only | Small cuts or punctures with little or no strain | Creeps under steady load, worse in summer heat; needs stitching if the spot is stressed |
Sewing a patch
- Cut the patch from fabric that matches the cover, large enough to reach well past the damage on every side. On a 3-inch tear, the patch should cover the tear and a good margin of sound cloth around it. Fold the patch’s raw edges under so they do not fray.
- Round the corners. Square corners catch and lift. Practical Sailor gives this advice for tape repairs; rounded corners also help a sewn patch lie flat.
- Close the tear first. Pull the edges together without overlapping them, and hold them with a few hand stitches or tape on the back so the cover keeps its shape.
- Place the patch over the tear. Where the damage came from rubbing on the boat, a patch on the inside also takes the wear at that spot; some repairs use one patch on each side.
- Stitch around the edge of the patch, then a second row inside the first. Keep stitches even and pull each one snug, not tight enough to pucker the cloth.
- Check it after the next rain. Every stitch is a small hole, so a repair on a top panel where water sits will let some through. If water pools there, fix the support or the slope so it runs off.
Using a caulk-type adhesive
Practical Sailor’s instructions are short and specific: “If there is a tear, pull the edges together on the back side with tape.” Then “it is vital to work caulking-type adhesives deep into the fibers”, and “Do not rush the cure, otherwise strength will suffer.” Lay the patch while the adhesive is workable, press it down evenly and leave the cover off the boat, flat and out of the wind, for the full cure time on the adhesive’s label.
Using repair tape
Cut the tape with rounded corners, apply it to clean, dry fabric and press it down firmly from the middle outward. Treat a taped spot as temporary on any panel that is pulled tight, sits under a strap or flaps in the wind, and stitch it as soon as practical.
Restitching a split seam
When a seam opens on a cover whose fabric still looks good, the thread has often given up first. Sunlight and age wear thread down, and the fabric maker’s warning about bleach and thread applies here. A useful check: pick at the stitching along the rest of the cover with a fingernail. If it crumbles or lifts easily in many places, the whole cover needs restitching, which is a canvas shop job and worth asking about while the cloth is still sound.
For a short split:
- Remove loose thread from the opening with a seam ripper so old fragments do not bunch inside the new stitches.
- Line up the layers exactly as they were. Clips or a few pins in the seam allowance help; on many covers the old needle holes show where the line ran.
- Sew through the old holes where possible, starting and ending a short way into the sound seam on each side so the repair overlaps good stitching.
- Use thread sold for outdoor canvas, not household sewing thread, which is not made for long exposure to sun. Ask a canvas supplier for a thread suited to the fabric.
- Hand sewing works with a heavy needle and a sailmaker’s palm to push it through. A household sewing machine may manage a single layer of lighter cloth, but many struggle with several layers of heavy canvas or webbing.
Replacing snaps and other fasteners
Snaps on a cover have two halves: the socket on the canvas and the stud on the boat, or on the panel it joins. When a cover will not stay snapped, find which half has failed.
- Socket pulled out of the canvas. The fabric around it has torn. Reinforce the spot first with a sewn patch on the inside, then set a new socket through the patch and the cover. Setting a new socket in the same torn hole will pull out again.
- Socket or stud cracked, bent or corroded. Remove the old part and set a new one of the same style and size. Snaps come in styles and sizes that do not all fit each other, so take the old part when buying the new one, and get the setting tool made for that style.
- Stud loose in the deck or hull. That is a fastening in the boat, not the canvas. A loose screw can let water into the deck, so treat it as boat maintenance or ask a yard.
- Stiff snaps. Salt and grit build up in the socket. Rinse snaps with fresh water when the cover is cleaned, and release a snap by lifting the cover right at the snap, not by pulling on the fabric edge, which tears sockets out over time.
Covers that hold on mainly by snaps, such as mooring covers, depend on every one of them, so a missing snap lets the edge lift and flap in wind. Replacing one or two is a home job; a row of torn-out sockets along a hem usually means the hem needs rebuilding with a reinforcing strip, which is better done by a canvas shop.
Fixing zippers on covers and bimini enclosures
A zipper has three parts that can fail: the slider, the teeth or coil, and the fabric tape the teeth are sewn to.
- Stuck slider. Salt, sand and dried residue jam sliders. Rinse the zipper with fresh water, work the slider gently back and forth, and let it dry. Do not force a stuck slider with tools; a cracked slider is a bigger repair.
- Zipper splits open behind the slider. If the teeth or coil are complete, the slider has often worn and no longer squeezes the two sides together. Fit a new slider of the same type and size. On many zippers a slider can be fed on from the open end, or after removing an end stop, without unpicking the zipper.
- Missing or broken teeth, or torn tape. The zipper needs replacing. That means unpicking the old one, sewing in a new one of the same length and type, and keeping the panel’s shape while doing it.
Replacing a whole zipper on a flat, straight panel is possible at home with patience. On a bimini top or an enclosure with curved panels, clear windows and tensioned fabric, it is usually a canvas shop job, because a zipper sewn in slightly off pulls the whole panel out of line. If the canvas on a bimini is worn as well, compare repair with replacing bimini canvas before paying for new zippers.
When to take it to a marine canvas shop
Home repairs make sense for small tears, short seam splits, single snaps and zipper sliders. Take the canvas to a marine canvas shop when:
- the tear is long, or sits at a strap, a corner, a frame pocket or any point that carries load;
- the thread is failing along many seams;
- a zipper on a curved panel or enclosure needs replacing;
- a clear vinyl window is cracked, cloudy or torn out of its frame of fabric;
- the cover needs new reinforcing patches at chafe points or a rebuilt hem;
- the cloth around the damage is thin, stiff or papery from sun, in which case the question becomes new canvas, not repair.
A shop can also tell you whether the cover is worth repairing. Bring the whole cover, cleaned and dry, so the shop can see every seam rather than only the tear.
Keeping the repair from failing again
A patch that holds is half the job; the other half is removing what caused the damage. Pad the chafe point, fix the support so water runs off, tighten or replace the straps that let it flap, and keep the canvas clean, because dirt left in the weave holds moisture against the stitches. For the fabric choices that affect how covers wear, see boat cover fabrics compared. Before a cover goes into storage for the season, check it for small damage while it is easy to see, and fix it before it grows.
Common questions
Can I use repair tape on my boat cover?
Yes, for a small cut or puncture in a part of the cover that carries little or no strain. Practical Sailor found that none of the tapes in its tests held a sustained load without creeping, especially in summer heat, so on a strap point, a corner or a panel that is pulled tight, treat tape as a stopgap until the spot is stitched. Check the tape's edges each time the cover is cleaned; an edge that has started to lift will keep going.
Can I sew boat canvas on a home sewing machine?
Sometimes, for a single layer of lighter cloth. Many household machines struggle once a seam has several layers of heavy canvas, webbing or vinyl, and skipped stitches in a cover will open again. Hand stitching with a heavy needle and a sailmaker's palm handles short repairs; long seams or many layers are quicker and stronger on a canvas shop's machine.
How do I fix a boat cover zipper that keeps coming apart?
If the teeth or coil are all there, a worn slider is the usual cause, and a new slider is a small part. It has to match the zipper's type (coil or molded teeth) and size, so take the old slider or a photo of the zipper when buying. If a new slider still lets the zipper split, or teeth are missing, the zipper itself needs replacing.
Is it worth repairing an old boat cover?
It is when the cloth is still strong and the damage is local: a tear, a split seam, a lost snap. If the fabric around the damage has gone thin, stiff or papery from sun, or tears under light hand pressure, patches will only move the failure next door, and the money is better spent on new canvas.
What tools do I need for boat canvas repair?
For most jobs: matching fabric for patches, outdoor-rated thread, heavy hand needles and a sailmaker's palm, a seam ripper, sharp scissors, a marine canvas adhesive, replacement snaps with the tool that sets them, and spare zipper sliders that match the ones on the boat. Take an old snap or slider along when buying, since sizes and systems differ.
Sources
Read next
Mildew on boat canvas: how to remove and prevent it
Mildew on boat cover fabric grows on dirt and trapped damp. How to clean it off within the care label, which bleach mixes makers allow, and how to stop it.
How to clean a boat cover and bimini top
How to clean a boat cover or bimini top: brush, hose, mild soap, rinse and air dry, when a bleach mix is allowed, and why the care label decides each step.
Mooring boat covers: snap-on covers for a boat in the water
Mooring boat covers for a boat at a slip, lift or mooring: how snap-on covers attach, fitting fasteners, keeping rain out, venting, wind, and why not to tow.
Boat cover fabrics compared: polyester, acrylic and canvas
Boat cover fabric explained: polyester, solution-dyed acrylic, cotton canvas and vinyl-coated polyester, denier vs ounces, waterproof vs breathable, labels.
Pontoon boat covers: fit, support and mooring
Pontoon boat covers explained: mooring, travel and playpen styles, measuring the deck and fence, support systems against pooling, and strapping for the road.